
How to identify a damaged electrical cable
Hello everyone, I’m Patrick. To identify a damaged electrical cable on a car or motorcycle, first look for a cut sheath, an exposed conductor, signs of overheating, or a damaged connector, with the engine off. A continuity test can then help on a properly isolated low-voltage circuit, but a beep does not prove that the cable can handle its normal load. This guide covers accessible low-voltage wiring harnesses, not mains electricity, airbags, or high-voltage circuits.
Identifying a damaged electrical cable: first steps to take
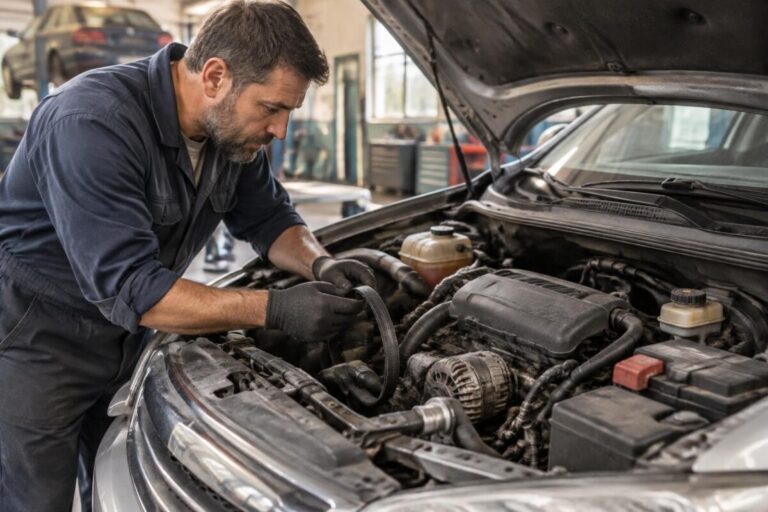
When it comes to a damaged electrical cable, visual inspection remains the most direct and quickest way to spot the first clear signs of damage. Do not touch a bare conductor or pull on a cable to “see if it holds.” Taking a photo of an accessible issue can already help the repair technician.
- Look for cracks, cuts, or tears in the cable’s outer sheath.
- Check for exposed or corroded metal wires.
- Look for any signs of burning, discoloration, or soft spots—indications of excessive heat.
- Check nearby connectors and terminal blocks for disconnections or corrosion.
Real-world example: a sheath rubbed against a metal bracket should be inspected even if the accessory is still working. The repair must also address the rubbing or the fastening that caused the damage; otherwise, the fault may recur in the same place.
Electric or hybrid vehicle: do not touch high-voltage cables
Orange cables and components bearing a high-voltage warning are entirely outside the scope of this guide. The Renault manual on the high-voltage circuit reserves this work for qualified service networks. Do not disconnect, measure, or repair them yourself, even with the ignition off.
Using a continuity test to detect faults
When a visual inspection is not enough, a continuity test is a key tool for identifying a damaged electrical cable whose fault may not be visible to the naked eye. A multimeter can help detect a break, provided you know the wiring diagram and isolate the conductor in question. The Fluke guide to continuity explains that this test must only be performed with the circuit de-energized.
- Identify the circuit and follow the vehicle’s de-energization procedure, then verify that no voltage is present before switching to continuity mode. Turning off the ignition alone is not always enough.
- Only test an accessible conductor that has been disconnected from circuits that could create a parallel path, as indicated by the wiring diagram. Do not pierce its insulation at random.
- A lack of continuity may indicate a break, but also check the test leads, contact points, and circuit isolation.
- If the result is ambiguous, stop testing: a partially severed cable may still make the multimeter beep without working properly under load.
A static test is therefore no substitute for a complete diagnosis. To consider a wiring harness fault alongside other possible causes of a breakdown, the advice on automotive maintenance and diagnostics can complement this initial inspection. Testing and repairs must be adapted to the vehicle in question.
Signs of faulty insulation
Insulation is the protective barrier between the conducting wire and the outside. In a low-voltage automotive circuit, damaged insulation can cause a short circuit and overheating. The risks are different with high voltage: never apply a 12 V inspection method to a traction battery or its cables.
- Circular wear marks on the sheath—often caused by rubbing against metal parts.
- Thinning or cracking along the entire length of the cable.
- Moisture spots or black marks indicating localized overheating.
- A visibly deformed, melted, or sticky sheath: do not handle it while hot or until the circuit has been made safe.
Assessing these symptoms can help you start repairs before the situation becomes alarming. Prevention is better than cure, especially when it comes to electrical safety.
Repairing or replacing a cable: what depends on the wiring harness
Whether a cable can be repaired depends on its gauge, wire type, waterproofing, and the manufacturer’s specifications. A sensor harness, shielded cable, or twisted pair cannot be repaired in the same way as a simple power cable. Before doing any work:
- Determine whether the manufacturer allows a local repair or requires the cable or wiring harness to be replaced.
- Choose a wire gauge, insulation, and components approved for the intended automotive application.
- Use the specified connection method and tools; do not use a household terminal block or simply twist wires together.
- Restore waterproofing, secure fastening, and chafe protection; tape alone cannot restore a severed conductor.
- Have the repair checked according to the circuit’s procedure; do not rely solely on a continuity beep.
A repair is not automatically risk-free. If you cannot identify the circuit or obtain the necessary procedure and tools, have the wiring harness repaired or replaced at a workshop.
Hazards to avoid when detecting and repairing damage
The devil is often in the details when repairing electrical cables. Here’s what you absolutely must avoid.
- Never handle a live cable, to avoid electric shock.
- Do not use unsuitable materials or tools: use insulated, certified equipment.
- Avoid loose connections that could cause overheating.
- Do not assume a repair is sound just because the multimeter beeps.
- Be alert to any recurring signs of electrical damage that call for a complete diagnosis.
| Common mistake | Consequence | Recommended solution |
|---|---|---|
| Working on a live cable | Short circuit and overheating; fatal danger with high voltage | Follow the vehicle’s procedure; do not confuse an automotive electrical system with a household installation |
| Loose connection | Overheating and short circuit | Use the specified connection method with appropriate fastening and waterproofing |
| Insulating with worn-out tape | Loss of insulation, possible short circuit | Have the conductor, insulation, and protection restored according to the specifications |
| Skipping tests after a repair | Undetected fault | Check the entire repair according to the circuit and its operating conditions |
Ignoring these instructions means putting your vehicle’s safety—and your own—at risk.
How can you tell if an electrical cable is completely unusable?
A break, exposed conductors, melting, or significant corrosion calls for an inspection and appropriate repair or replacement. A continuity beep does not make visible damage acceptable.
Is a continuity test reliable for all cables?
It can reveal a break in an isolated, de-energized conductor. On its own, it does not confirm that the conductor can power a device, and it must not be used indiscriminately on safety or high-voltage circuits.
Can you repair a damaged electrical cable yourself?
Only if the circuit is identified, the repair is authorized, and you know the procedure. For airbags, high voltage, specialized cables, or significant damage, contact a professional.
What tools are essential for a safe repair?
Start with the wiring diagram and procedure, then use suitable measuring instruments and connection tools. A universal kit is not sufficient for every wiring harness.
Why shouldn’t you ignore signs of cable wear?
A faulty cable can cause serious breakdowns or even fires; early detection helps prevent costly and dangerous accidents.
Thanks for reading; Patrick