
Motorcycle Tire Tools: Which Ones Are Really Useful?
Hi, it’s Patrick.
For motorcycle tires, the tools that really come in handy are a suitable tire iron, rim protectors, lubricant, a reliable pressure gauge and, depending on the type of tire, a tubeless repair kit.
You don’t need a whole workshop to make the right choices. The key is to work without damaging the rim, check the pressure and know when to leave the job to a professional.
Good habits to adopt
- Check whether your tires are tubeless or fitted with an inner tube.
- Choose tire irons that are long enough and protect the rim with rim protectors.
- Have tire mounting lubricant on hand; never use just any oil.
- Keep an accurate pressure gauge to check tire pressure when the tires are cold.
- Don’t remove a tire if you can’t safely secure the motorcycle or wheel.
Choosing the right equipment helps prevent the most common damage: scratched rims, pinched inner tubes or incorrectly adjusted pressure. To expand your toolkit, you can also check out this guide to choosing tools for motorcycle tires and this selection of useful motorcycle tools for beginners.
Motorcycle tire tools: essentials and extras
A motorcycle tire iron is useful if you plan to remove or refit your tires regularly. For an occasional job, having a professional handle the fitting is often easier, especially with a wheel fitted with pressure sensors or an expensive rim.
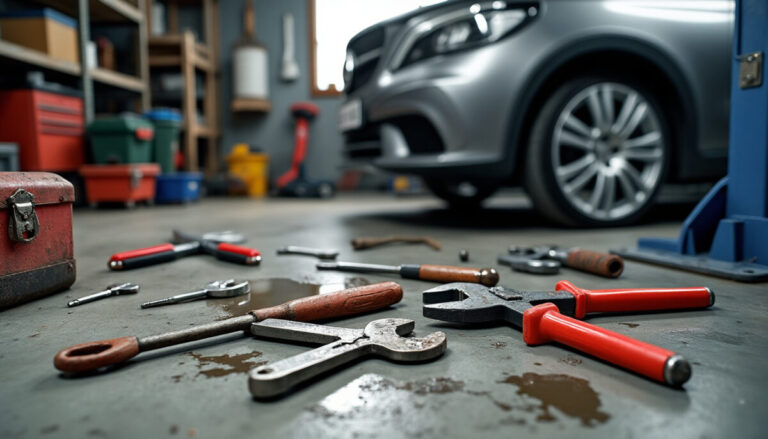
For a manual tire change, you’ll generally want several levers rather than just one. A set of three or four tire irons makes the job easier, while rim protectors help prevent marks when the lever bears against the edge of the wheel.
| Tool | What it’s used for | Priority |
|---|---|---|
| Motorcycle tire iron and rim protectors | Removing or fitting the tire while minimizing damage to the rim. | Essential for fitting a tire at home. |
| Tire lubricant | Helping the bead slide over the rim. | Very useful during fitting. |
| Pressure gauge | Checking tire pressure accurately. | Essential, even if you don’t remove your tires. |
| Air compressor | Inflating the tire and helping the bead seat. | Convenient, but a suitable inflator may be enough. |
| Tubeless repair kit | Temporarily repairing certain punctures in a tubeless tire. | Useful for roadside repairs, but no substitute for a professional inspection. |
| Wheel balancer | Identifying an imbalance after fitting. | For frequent tire changes or workshop use. |
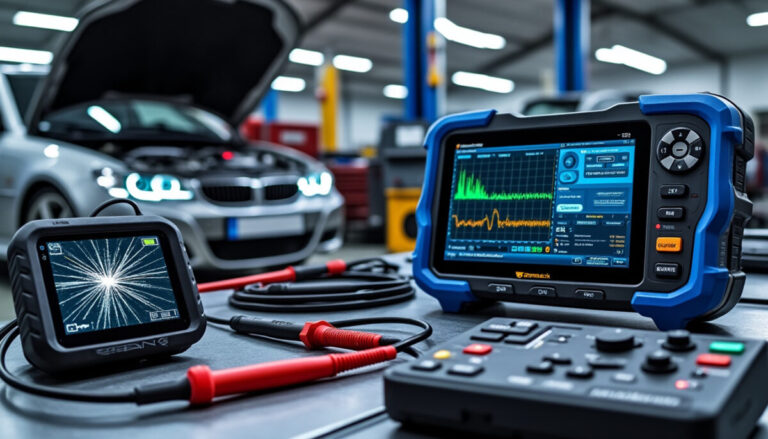
| Tread depth gauge | Measuring tread wear. | Affordable and useful for monitoring tire condition. |
The equipment that really makes a difference
The right lubricant helps the bead slide into place without forcing it. Avoid improvised greasy products: they can leave an unwanted film and make it harder for the tire to seat properly on the rim.
A pressure gauge, on the other hand, is useful throughout the life of the tire. A small, accurate model is often more useful than a powerful compressor with an unreliable built-in gauge.
A tread depth gauge is a great addition to your equipment. It lets you monitor wear over time instead of waiting until the tire looks visibly worn.
Tubeless repair kit, wheel balancer and stand: choose based on how you ride
A tubeless repair kit can get you out of trouble after a small puncture that’s suitable for this type of repair. It isn’t suitable for every kind of damage: a damaged sidewall, a large cut or a deformed tire calls for a professional opinion and may mean the tire needs to be replaced.
A wheel balancer is worth considering if you change your tires often. For a one-off job, its cost and the space it takes up may not be worthwhile. A workshop stand, on the other hand, can help stabilize the motorcycle and remove the wheel, provided it’s compatible with your model and used on level ground.
Three steps to prepare for a tire change
- Stabilize the motorcycle and remove the wheel. Check the manufacturer’s instructions, note where the spacers go and keep the parts in order. If you can’t secure the motorcycle safely, stop here.
- Remove and refit the tire without forcing the rim. Use rim protectors, several tire irons and suitable lubricant. Keep the inner tube away from the lever tips if the wheel isn’t tubeless.
- Inflate, check and verify the balance. Measure the pressure with a gauge, check that the bead is properly seated all the way around, and have the wheel balance checked if necessary.
A common mistake is to force the tire when it resists. That’s exactly when the rim can get marked or the inner tube can get pinched. If it takes too much effort, reposition the bead or have a workshop fit the tire.
Which tools to buy first
For routine maintenance, start with a reliable pressure gauge and a tread depth gauge. Both accessories are compact, affordable and useful even if you never fit your own tires.
Next, add a tubeless repair kit if your wheels are suitable and you know the limits of a temporary repair. Tire irons, rim protectors, a wheel balancer and a compressor become priorities only if you want to fit tires properly and often enough to justify the investment.
What tools do you need to change a motorcycle tire?
You need suitable tire irons, rim protectors, tire lubricant and a way to reinflate the tire, along with a pressure gauge. A compatible stand helps you remove the wheel safely.
Is a tubeless repair kit enough to replace a tire?
No. It’s only for certain temporary repairs on tubeless tires. Sidewall damage, large cuts and internal damage require a professional inspection.
Is a wheel balancer essential at home?
Not necessarily. It’s most useful if you change tires often. For an occasional tire change, a properly equipped workshop can fit and balance the tire.
Why use rim protectors?
They create a barrier between the lever and the rim. They reduce the risk of scratches and marks during tire removal, especially on rims that are easy to damage.
Thanks for reading! Feel free to share your thoughts in the comments. — Patrick