Beginner tools: the useful Moto kit without surplus
Hi, this is Patrick. To begin, choose a compact toolkit with a screwdriver, hex keys, sockets, and pliers, then add only what fits your motorcycle. A 27-tool kit can already cover small adjustments and common repairs, without filling your garage. The goal is simple: carry the essentials, know how to use them, and leave risky repairs to professionals.
Things to do immediately:
- Check the screw and bolt sizes specified by your motorcycle’s manual.
- Keep a screwdriver with bits suitable for the fasteners you encounter.
- Choose a set of Allen keys and a few sockets compatible with your motorcycle.
- Add a flashlight, cable ties, and mechanic’s gloves.
- Store it all in a kit that fits under the seat or in a small bag.
To take care of the rest of your vehicles as well, check out this guide on the handy kit for car maintenance. For choosing your first motorcycle tools, you can also read these tips for buying without overspending.
The beginner motorcycle toolkit: the essentials before specialized tools
A compact motorcycle tool kit is mainly for simple adjustments and small unforeseen issues. The Moto Pro Toolkit, for example, brings together 27 tools in a folding case about 18 × 10.5 cm when stored.
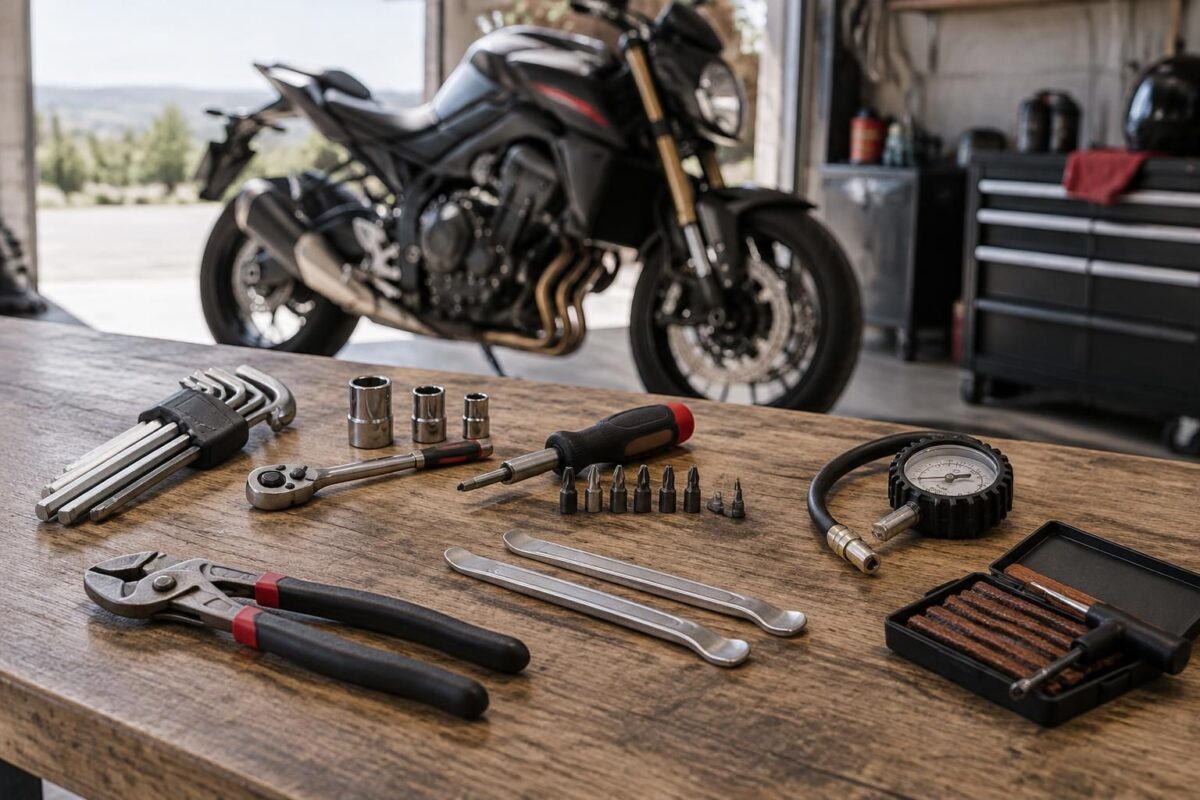
It includes notably a screwdriver with interchangeable bits, a mini adjustable wrench, a small ratchet, an extension bar, five hex keys, sockets and two small pliers. The mini ratchet requires little travel: it’s handy in tight spaces, but always check that the bit matches the screw.
You can compare the contents of the Toolkit Moto Pro with a universal motorcycle tools kit. The make-up matters more than the number of pieces: a tool that can’t be used on your motorcycle only weighs down the bag.
| Tool | Common use | To verify |
|---|---|---|
| Allen keys set | Hex socket screws and small adjustments | Dimensions suited to your motorcycle |
| Adjustable wrench | Some accessible nuts | Don’t force or damage the angles |
| Screwdriver and bits | Common screws and light adjustments | The shape and size of the drive |
| Pliers | To manipulate a clip or a small cable | Avoid pulling on fragile parts |
| Flashlight | See under the saddle or in a dark spot | Check batteries or charge |
What to add for on-road emergencies
A puncture repair kit can help if your motorcycle has tubeless tires and you know how to use the equipment. With a tube tire, the method is not the same: check the front wheel type before buying a kit.
A compact pressure gauge helps monitor the pressure, while a small chain lubricant can be useful on a long journey. Also bring cable ties and a pair of mechanic’s gloves; these accessories take up little space and make handling cleaner.
“The right tool is the one that matches the right intervention.” A wrench does not replace the right-sized tool for a high-torque fastening: if a fastener resists or involves the brakes, the steering, or a safety component, stop and seek advice.
Two situations easy to distinguish
If it’s a small adjustment that is accessible and provided for in the manual, use the appropriate tool without forcing. If it’s a tubed puncture or a braking issue, avoid improvised repairs and call a professional.
Choosing and storing your kit without buying duplicates
Before ordering, survey the visible fastenings and consult the manual. A beginner can start with a few common sizes of wrenches and sockets, then add according to the model and the operations they actually perform.
An anecdote nicely sums up the value of a compact kit: during a ride, a rider was able to tighten a vibrating accessory using a hex key already stored under his seat. He finished his trip without turning a small nuisance into a prolonged stop.
To compare tool kits and workshop tools, also check out this selection of tools for motorcycle maintenance. Keep in mind that a roadside kit is for simple tasks, not to replace a full workshop.
A simple procedure to prepare your motorcycle kit
- Step 1 : consult the manual and note the tool dimensions suitable for your motorcycle.
- Step 2 : assemble your kit with the wrenches, sockets, screwdrivers and pliers you need, then add a flashlight and cable ties.
- Step 3 : store each piece, check that the kit fits under the seat, and practice performing a simple check while stationary.
Test the organization before you head out: a kit that opens or rattles can be annoying. A well-organized kit remains more useful than a larger assortment whose uses you don’t know.
Useful questions about the beginner motorcycle tool kit
What tool to buy first to get started?
Start with the screws and sockets suitable for your motorcycle’s fastenings, then add a screwdriver with compatible bits and a flashlight. The vehicle’s manual helps avoid unnecessary sizes.
Does a compact kit suffice to repair a motorcycle?
It is mainly suitable for small adjustments and a few unforeseen events. It does not replace workshop tools or the intervention of a professional for brakes, the steering, or a complex breakdown.
Should you bring a puncture repair kit?
Yes if your tires are tubeless and if you know how to use the kit. Check the tire type and the recommended method before departure; a tubed tire requires a different approach.
Thanks for reading; best regards, Patrick